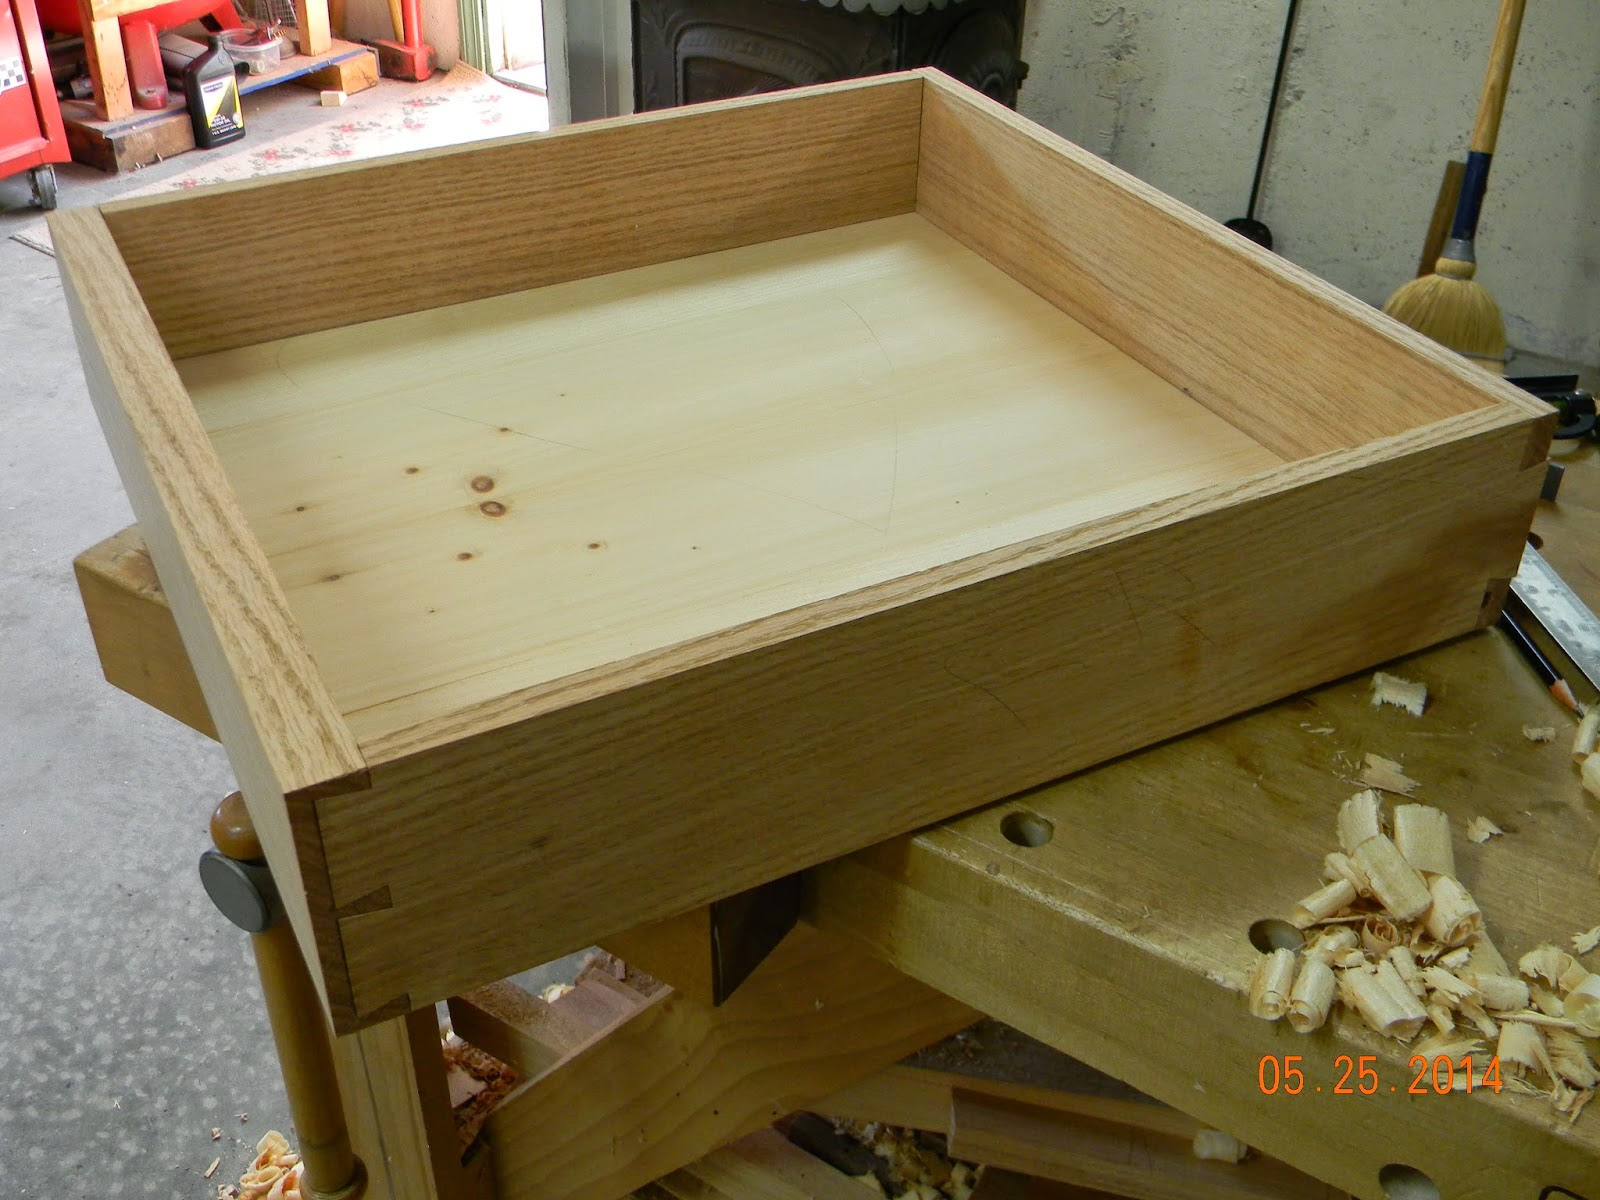
I decided to show some step by step pictures of a project, from board to finished piece
.JPG) |
| Beautiful 28" x 12' Red Oak board, at least a few decades old, fairly flat too. |
 .JPG) |
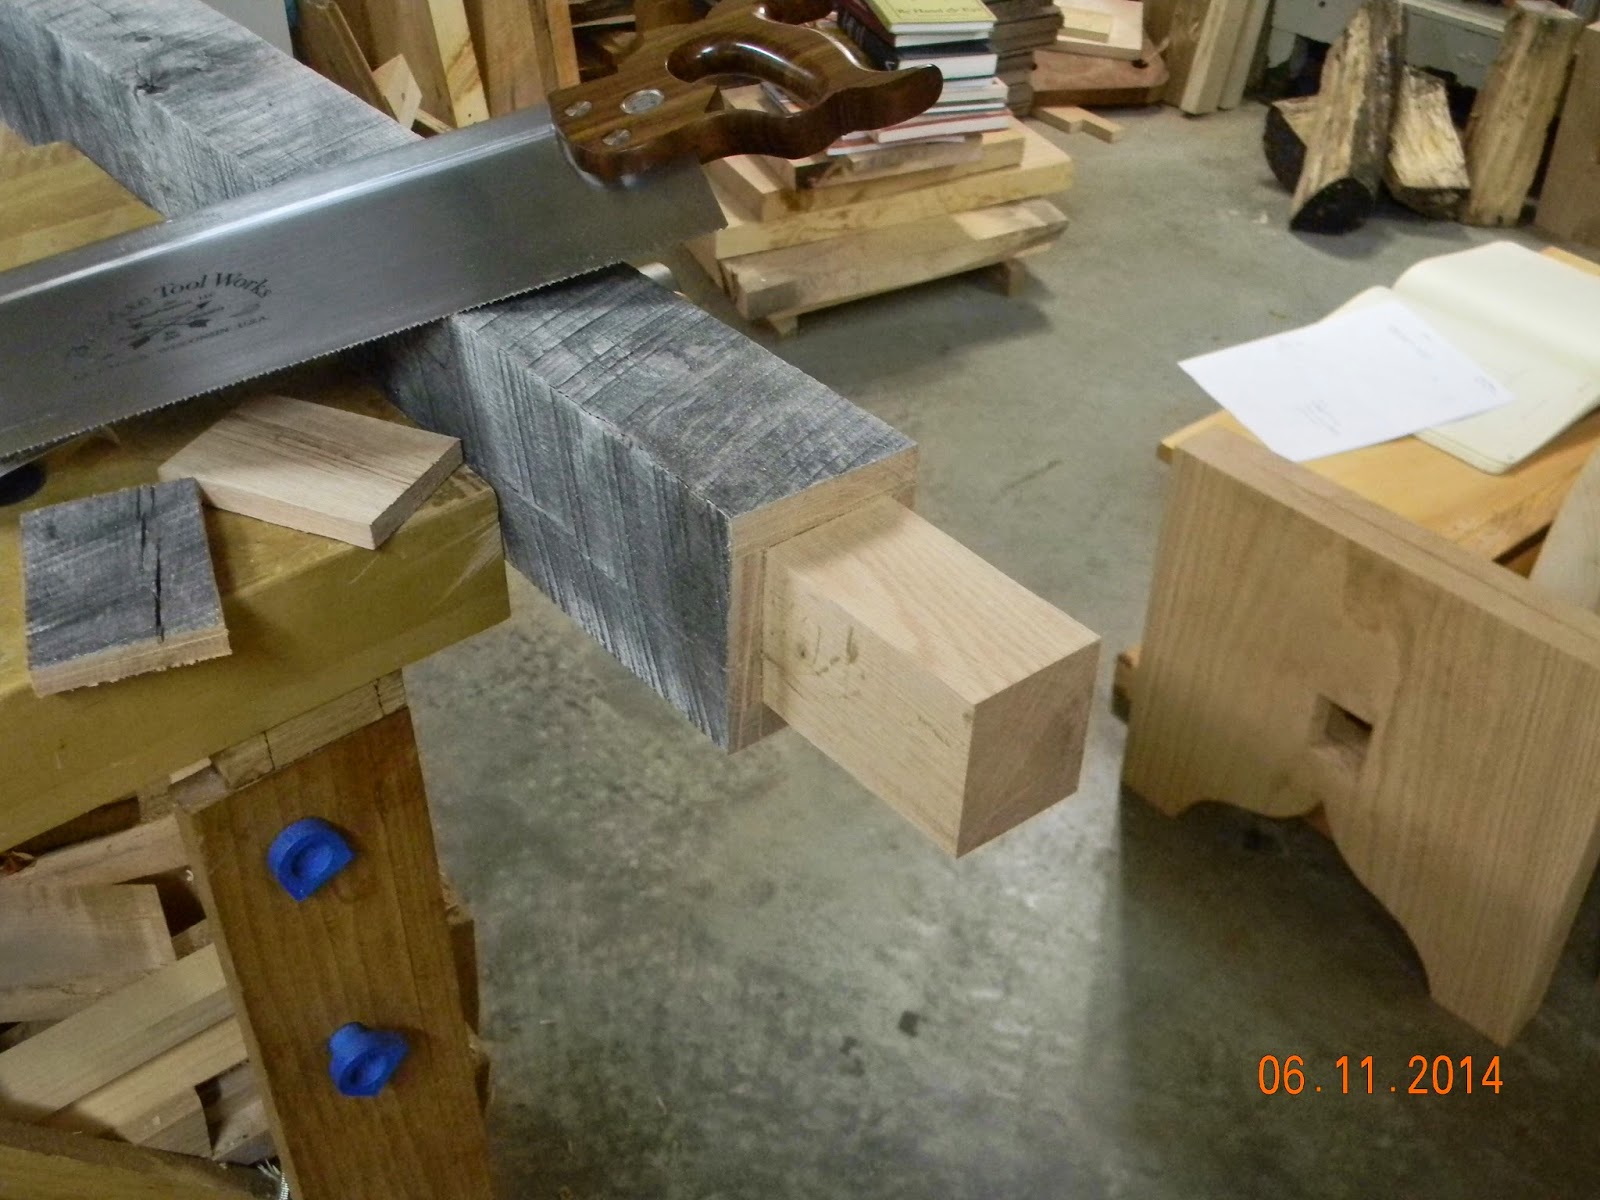
| After wire brushing and marking, sawing begins |
.JPG) |
| Traversing with a bench plane to flatten the top. I used saw horses as my work bench was to small to handle the piece |
 |
| Using my panel gauge to mark parallel width |
 |
| Truing edges |
.JPG) |
| Relieving edges so they don't splinter |
.JPG) | |||
| Adding chamfer relief to underside of top |
 |
| Marking leg width. The cut-offs will be used for the drawer. |
 |
| Squaring up legs |
 |
| Flattening legs |


.JPG)


Comments
Post a Comment